

In this page
Which spaces should I exclude?
Archived vs excluded spaces
Manage excluded spaces
What is an excluded space?
Although most Confluence spaces benefit from content lifecycle management, there are certain situations when it is better to exclude spaces.
When you exclude a space, it will not be:
- tracking content events (views, updates, etc.)
- shown in the Content Status Overview
- decorated with the Content Status Indicator
- included in the Content list
- processed by jobs, so it won't get content status refreshes, notifications, or automations
When you exclude a space, it will be:
- listed on some reports, marked with "Excluded space"
It essentially means that excluded spaces are "ignored" by the Better Content Archiving app.
Which spaces should I exclude?
These are the types of spaces you should exclude:
-
Irrelevant spaces:
These are the spaces that should not be tracked because their status is not relevant.
They include dead content (legacy garbage), never-changing content (static information), machine-generated content, and other content that would slow down the app in your site without creating real value for your users.
Benefit: If you exclude these spaces, it can make a big difference in terms of app performance, especially in large Confluence instances. Properly configuring the list of excluded spaces is an actual optimization possibility. It both reduces clutter in the application interface (e.g. irrelevant spaces not polluting the content status overview) and the execution duration of your jobs. -
Spaces with corrupt data:
Confluence, other apps, custom scripts may sometimes create data that is considered corrupt.
The app is designed to tolerate most types of corrupt data, but it may fail in non-recoverable situations like broken parent-child relations.
Benefit: If you find a space with corrupt data and exclude that temporarily, your users can use the app in all other spaces until the data gets fixed.
Archived vs excluded spaces
In general, archived spaces are "ignored" the same way as excluded spaces. They are marked with "Archived space" on reports.
Note that archived spaces cannot be excluded, so they will not even show up on the Exclude spaces screen.
Manage excluded spaces
You can add or remove spaces from the list at Confluence Settings (cog icon "⚙" in the top right) → Apps → Better Content Archiving → Administration → Exclude spaces.
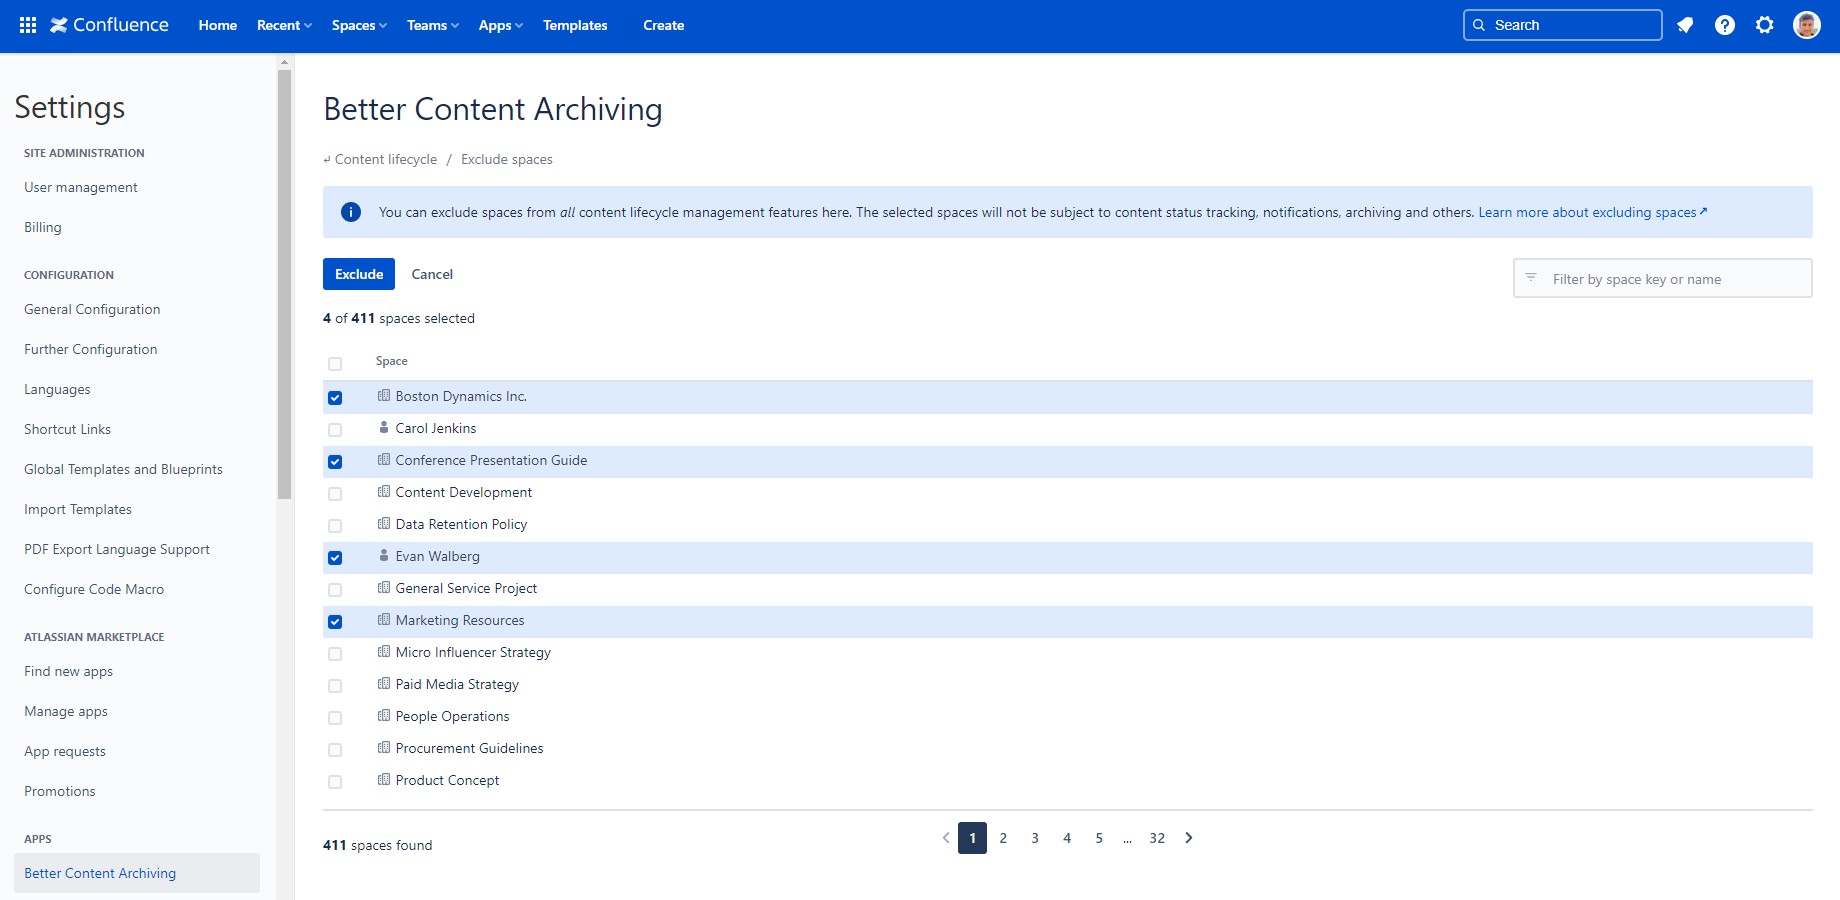
By default, the list of excluded spaces contains all personal spaces, meaning that the content lifecycle management is active only in global spaces. You can remove personal spaces from the list any time, to activate the app features in those as well.
The space list can be filtered by:
- Space type (personal, not personal, or both)
- Exclusion state (currently included, currently excluded, or both)
- Space key or name (free text)
The list shows a checkbox for each space. If it is checked, the space is excluded from content lifecycle management.
If you have a large number of spaces, use the "select all" checkbox to select or deselect all matching spaces at once, not just those shown on the current page.
Changes are preserved as you filter and page through the list, so you can review everything before clicking Save.
Questions?
Ask us any time.